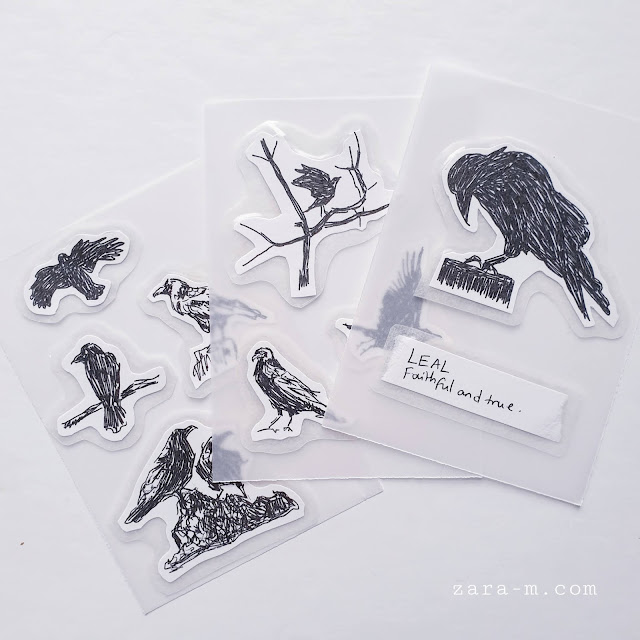
Handmade Sketchy Watercolour Stickers
Have you ever found yourself searching online for the perfect stickers but not been able to find quite what you are looking for?
I'm an arty person, I love to draw and paint, and what I really wanted to find were some beautiful sketchy watercolour stickers to brighten up my Midori Traveller's Notebook journal and Filofax planner.
I couldn't find anything that spoke to me and so I decided to make my own!
Alas, I don't have a printer or a cutting machine, which are basic requirements for sticker making and extremely expensive, but I wasn't going to let that stop me.
So I googled ways to make homemade stickers without the use of technology and I came up with an ingenious method, which I am going to share with you below.
How To Make Your Own Planner Stickers Without A Printer
Firstly you have to design your stickers.
Not everyone is an artist though so keep it simple, and if you really do suck when it comes to drawing or painting, just flip through a magazine, you are sure to find some fun designs to cut out for your stickers!
I experimented with some watercolour paintings of butterflies and nature-themed doodles, some sketchy crow drawings, handwritten quotes, inspirational words, and some fun expressive face characters so that I can show what mood I'm in.
Homemade Sticker Supplies (No Printer Or Cutting Machine)
Next, you will want to make sure you have the following supplies to make your stickers:
- Baking Paper
- Clear Packing Tape (I went for extra wide)
- Scissors
Yep, that's it! Keep reading, because this is where the real magic begins...
Method | Making Journal Stickers At Home
Step 1: Lay your baking paper out on a flat, hard surface, like a table (obviously)
Step 2: Cover it in tape, sticky side down
Step 3: Cut your sticker designs out and lay them face-up on top
Step 4: Use tape over the top of your designs to stick them down
Step 5: Smooth out any air bubbles
Step 6: Carefully cut around each design leaving a border so that your sticker doesn't fall apart
Step 7: Now you have beautiful homemade stickers with a peelable backing (the baking paper!)
I was so impressed with the outcome that I ended up making far too many. I won't have to buy any stickers for a long time now!
A Few Tips:
- If you use thin paper your stickers will be more flexible and less likely to unstick if your pages bend
- If you use thicker paper (like cartridge paper) your stickers will feel and look more premium
- Less textured paper will look better underneath the clear tape
- Make sure you use high-quality tape so that it is nice and sticky
- Only use your own designs if you intend to sell your stickers like me
- Don't expect to make any profit - the time it takes to design, make and cut them all out will depress you if you have to do it over and over and over again. Unless you are crazy like me. If you want to start a sticker business I'd suggest getting a printer and cutting machine and design your stickers digitally
- Get your kids involved! This makes the perfect rainy day project :)
P.S. If you have kids you might be interested in my other blog post where I share an inspiring flip through of a fun little planner I put together for my 12-year-old niece...
So there you have it.
I have had SO much fun making my own stickers. I hope that you have fun too!
Thanks for reading and commenting... feel free to share this post if you enjoyed it x


